
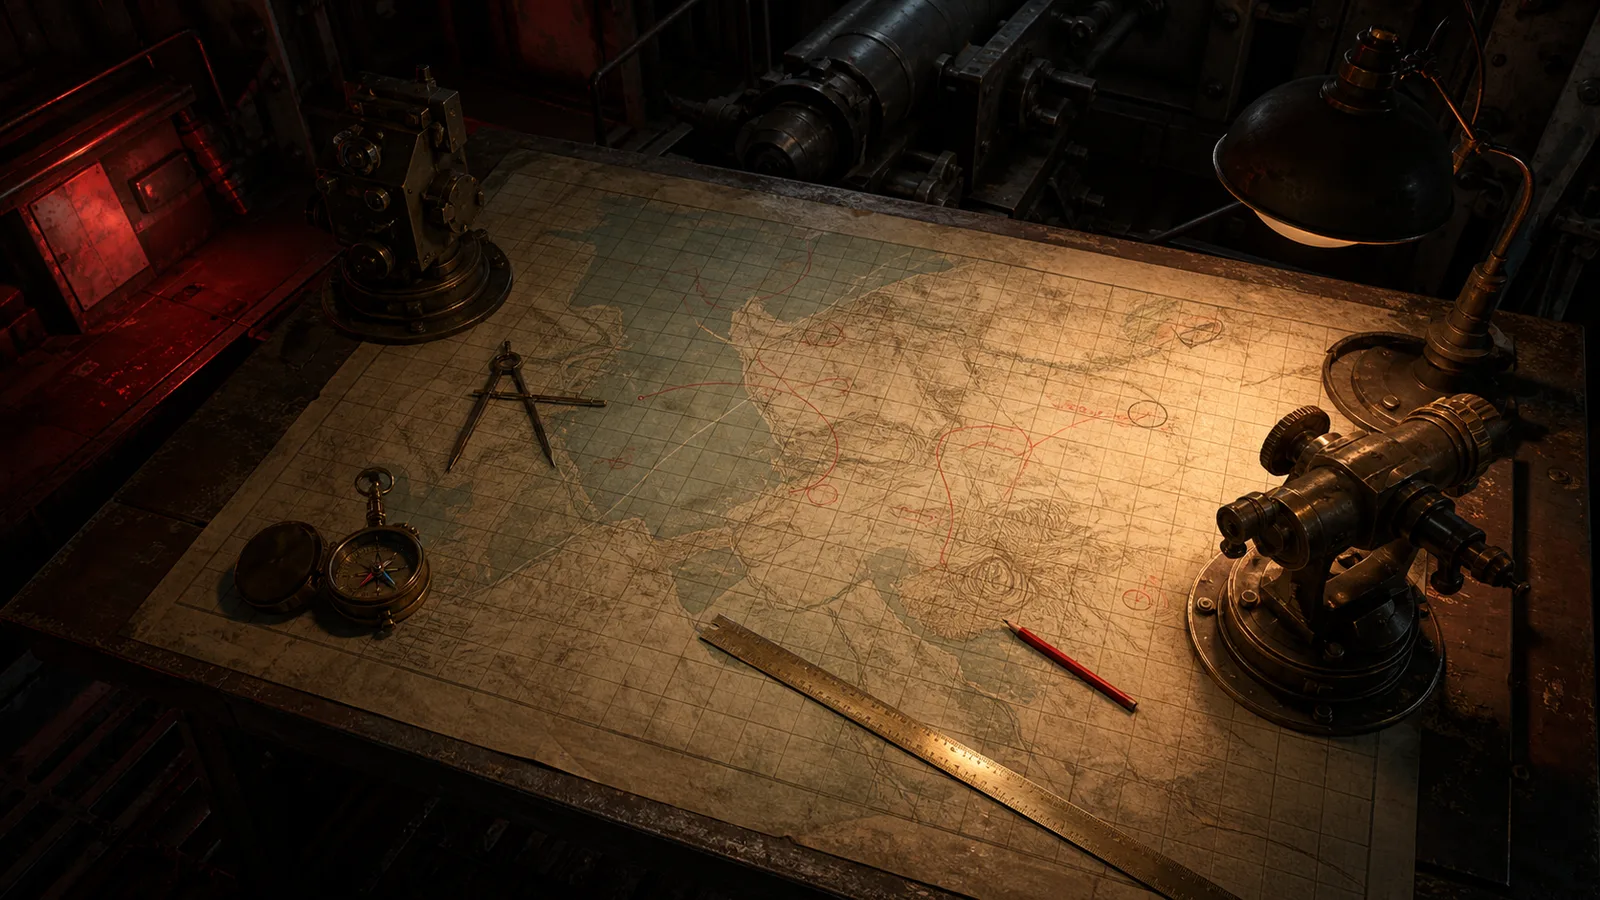
What triangulation solves
Triangulation turns map observations into one target coordinate before the turret receives a firing vector. In this guide, triangulation covers three related workflows: direct target coordinates, one spotter vector, and the intersection of two observer bearings. Each triangulation mode ends at the same output: target X, target Y, bearing from the Nest, and range from the Nest. The Operator Console performs only this transparent two-dimensional geometry and keeps every input inside the browser.
Good triangulation begins with named origins. A bearing without an origin is incomplete. A spotter bearing starts at the spotter, while a Nest firing bearing starts at the Nest. Cross-bearing triangulation starts with two different observer coordinates and one forward ray from each observer. Label every coordinate before calculation. This triangulation discipline prevents a correct number from being applied at the wrong point, which is a more common and more damaging error than decimal rounding.
Lock coordinate conventions first
The Console triangulation model uses X for east-west position, Y for north-south position, and bearings clockwise from north. Zero and 360 point north, 90 points east, 180 points south, and 270 points west. Before triangulation, verify that the current map uses the same visible orientation and that copied signs are correct. The tool cannot detect a valid number taken from the wrong axis, grid, report, or map layer.
Run a cardinal check before accepting triangulation output. A 90-degree spotter vector must move the target east of that spotter. A target directly north of the Nest must return a Nest bearing near zero. If triangulation contradicts those plain-language directions, stop. Check X and Y order, north orientation, decimal points, negative signs, and the selected origin. Never adjust the story to excuse a triangulation result that fails a simple map check.
- Mark north and confirm the X and Y axis direction.
- Write the coordinate unit once beside the triangulation worksheet.
- Name every observer and preserve its own bearing origin.
- Describe the expected target direction before calculating.
Direct target mode
Use direct mode when the target coordinates are already known. This is the simplest triangulation path because no observer projection is needed. Enter Nest X and Y, then target X and Y. The Console subtracts the Nest position from the target, measures the straight-line range, and converts the offset into a clockwise bearing from north. Direct mode still belongs in the triangulation workflow because it establishes the final vector that every other mode must eventually produce.
Check direct triangulation with geometry you can see. If target X increases while Y stays equal, the target should be east and the bearing should be 90 degrees. If target Y increases while X stays equal, the target should be north and the bearing should be zero. The Console rejects a target that coincides with the Nest because zero range has no defined firing direction. That error is a prompt to inspect coordinates, not an invitation to invent a triangulation bearing.
Single spotter vector
Spotter triangulation starts from a spotter coordinate, a bearing, and a positive distance. The Console converts the bearing into an east-west and north-south direction, multiplies that direction by distance, and adds the result to the spotter coordinate. That creates the target coordinate. A second triangulation step then measures bearing and range from the Nest. The spotter bearing is never presented as though it were already the turret bearing.
The labelled Console example uses Nest 20,25 and spotter 50,40 with a 90-degree bearing and distance 30. Spotter triangulation places the target at 80,40, then returns a Nest bearing near 75.96 degrees and range near 61.85. Those values demonstrate the method, not a current mission solution. Replace every example input. If a report contains two spotters, do not force both into single-vector triangulation unless each report also provides the required distance.
Cross-bearing intersection
Cross-bearing triangulation uses observer A position and bearing plus observer B position and bearing. Each bearing defines a forward ray. The target is where those two rays intersect in front of both observers. The Console solves the ray intersection and then calculates the final Nest vector. This mode is useful when reports provide directions from two known locations but no distance. It is not the same as averaging two bearings or drawing both rays from the Nest.
A clean triangulation example places observer A at 0,10 looking east at 90 degrees and observer B at 10,0 looking north at zero degrees. The rays meet at 10,10. With the Nest at 0,0, the final bearing is 45 degrees and the range is the diagonal distance. Use this synthetic triangulation example to verify controls, then replace all values with the current report. Never publish current mission coordinates from an unverified example.
Reject unstable triangulation
Parallel or nearly parallel bearings do not produce a stable triangulation intersection. Small angle errors can move the calculated target an extreme distance, so the Console rejects a denominator near zero rather than returning a precise-looking answer. It also rejects an intersection behind either observer because each report is treated as a forward bearing. These errors protect the triangulation boundary. They do not prove that a report is wrong; they show that the selected model cannot support a stable target.
When triangulation fails, return to the source report. Confirm which direction each observer is looking, whether 180 degrees was accidentally added or omitted, whether both observer positions are distinct, and whether a bearing was copied into the wrong row. If bearings are valid but nearly parallel, seek another observation or use a verification shot when the mission permits. More decimal places do not repair weak triangulation geometry. Better intersection angle and better source placement do.
Manage observer uncertainty
Every triangulation result inherits uncertainty from observer position, bearing precision, map reading, and transcription. A rounded bearing can shift a distant intersection more than a nearby one. A small position error can also move the triangulation target. Record the visible precision instead of adding invented decimals. Describe whether the intersection is strong, shallow, or unstable. The Console gives deterministic output for the entered values, but it cannot assign confidence that the reports themselves do not contain.
Use verification to reduce triangulation uncertainty. First compare the calculated location with the report narrative and map features. Next check the final Nest bearing with cardinal direction. Then use the current game calculator for charge and elevation. If the mission allows a ranging shot, preserve the initial triangulation card and record the observed miss direction. Change one category only when the result supports it. An unobserved impact cannot justify a numeric triangulation correction.
Console triangulation workflow
Open the Operator Console and choose the triangulation mode that matches the report fields. Enter the Nest first, then only the active mode inputs. Calculate and inspect target coordinates, Nest bearing, Nest range, and the map plot. Add mission and target labels so the triangulation card survives interruptions. Read shell, charge, and elevation from the current client because conflicting community formulas make automatic elevation unsafe. Copy, print, or save the private record after the transfer check.
Saved triangulation records stay in browser storage and are limited to twenty. They are not sent to analytics, a database, or a user account. Add a triangulation observation after impact, save a new triangulation record for a corrected shot, and export JSON when you want an external backup. If local storage is corrupt, the Console starts with an empty record list instead of crashing. This private triangulation history gives practical continuity without creating a triangulation server maintenance burden.