
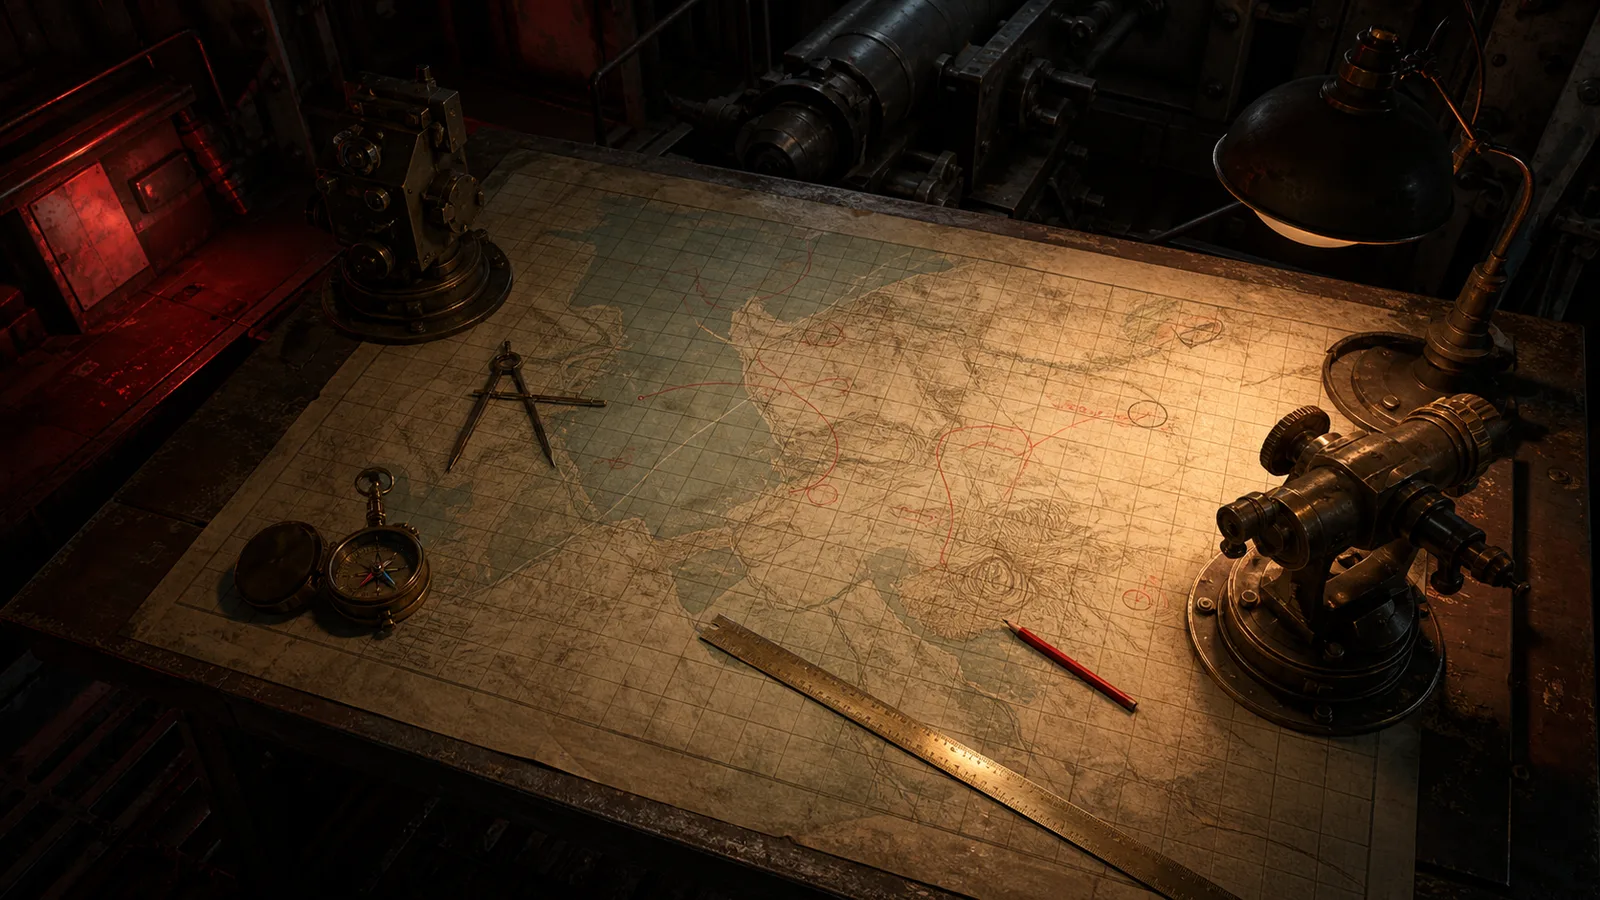
1. Read the order before touching the turret
A reliable firing solution starts with the report, not with the controls. Read the High Command objective and every frontline note before plotting anything. Identify who observed the target, which coordinate system the report uses, whether the location is direct or inferred, and what effect the order requests. This first firing pass is a transcription job. Keep the source wording visible and copy each value into a clean firing note. If a number is unclear, stop and inspect it instead of choosing the value that looks familiar.
Separate observation from instruction. An observer may provide a bearing and distance from a spotter position, while the actual firing direction must be measured from the Nest. Those are not interchangeable. Mark the spotter position, source bearing, source distance, target type, and any time pressure as separate fields. A good firing record lets you trace each result back to one input. That trace matters later because a missed firing attempt can come from source interpretation, map plotting, calculator entry, or turret transfer.
2. Plot the map in a fixed sequence
Open the tactical map and confirm the Nest position before making a firing plot. Do not assume that a familiar grid center is the exact weapon position. Community material has warned that the Nest position may need calibration, so treat the visible current-session map as the working authority. Record the Nest X and Y values, then record the spotter X and Y values. Only after both origins are fixed should you project the reported bearing and distance to obtain a target point for the firing plan.
Bearings are read clockwise from north in this guide and in the firing planner. Zero points up the map, ninety points right, one hundred eighty points down, and two hundred seventy points left. A quick cardinal check catches many firing errors before arithmetic begins. If a calculated target appears on the opposite side of the spotter, inspect axis direction and bearing convention. Never rotate the entire firing solution mentally to make a surprising answer look acceptable. Recalculate from the written values and compare the plotted direction with the report context.
- Mark the current Nest position and label it N.
- Mark the observer or spotter position and label it S.
- Project the reported bearing clockwise from north at the reported distance.
- Label the resulting target point T, then measure firing bearing and range from N to T.
3. Build the firing solution
The target point is not yet a complete firing solution. From the Nest, calculate the target bearing and straight-line map range. Write both next to the target coordinates. Then select a shell role that matches the ordered effect and the target description available in the current game. The official store confirms a combined total of thirty ammunition types and abilities, but it does not publish a verified split. This guide therefore avoids inventing a complete firing table or claiming unsupported shell statistics.
Use the in-game calculator for charge and elevation unless you have current-client evidence for another method. Public community guides show conflicting manual elevation formulas and unit scales. Automating one of those formulas would create false confidence, so the firing planner on this site limits itself to deterministic map geometry. Enter the plotted range into the game interface, select the chosen shell and available charge, then transcribe the returned elevation into the firing card. Keep bearing, range, shell, charge, and elevation on one line to prevent cross-row mistakes.
4. Transfer every firing value deliberately
Move to the turret only when the firing card is complete. Transfer one value at a time and point to the matching line after each control change. Set the shell, confirm the shell label, set the charge, confirm the charge, set bearing, and then set elevation. The order is less important than consistency. A repeated firing ritual reduces omission errors because an interrupted operator can restart from the last confirmed line instead of trusting memory.
Before firing, perform a verbal or visual cross-check. The target direction should make sense on the map. The range should be plausible relative to the grid. The shell should match the desired effect. Charge and elevation should belong to the same firing calculation. Controls should display the intended values rather than the previous firing state. The current game guidance discussed by a developer says wind is not part of this firing problem, so do not add an unsupported wind correction when diagnosing the first shot.
- Shell label matches the firing card.
- Charge and elevation come from the same calculator pass.
- Bearing is measured from the Nest, not from the spotter.
- No previous firing value remains on a control.
5. Fire once, observe once, correct once
Commit the firing attempt only after the transfer check. After firing, resist the urge to adjust several controls before reconnaissance arrives. The result is evidence about the full chain that produced the shot. Record whether the shot was short, long, left, right, ineffective, or not observable. If the report gives a clear directional miss, change the smallest relevant part of the firing solution. If the result is wildly inconsistent, inspect the original coordinates and conventions before applying a small correction.
A disciplined firing correction changes one category at a time. Directional error points first to bearing, target plot, or turret direction. Range error points first to coordinates, map distance, charge, or elevation transfer. Correct location with the map and calculator, then rebuild the firing card. Do not use repeated ammunition as a substitute for diagnosis. A single documented firing loop teaches more than several unrecorded attempts because it shows which input changed and whether the correction moved the impact in the expected direction.
6. Use a firing error ladder
When a shot misses, inspect the chain from the earliest source to the latest control. Start with the report: was the spotter position copied correctly, and was the report relative to the spotter? Next inspect the plot: did north, axis direction, bearing, and distance use one convention? Then inspect the firing calculation: did target range and bearing come from the Nest? Finally inspect the turret: did shell, charge, bearing, and elevation match the card at the moment of firing? This order prevents late-stage tweaking from hiding an early plotting mistake.
Keep the error description factual. Write 'impact right of target after bearing 042.5' rather than 'accuracy seems bad.' A factual note can be compared with the next firing result. If you cannot observe an impact, do not invent a correction. Recheck the mission state, target selection, shell effect, and reconnaissance timing. The dedicated troubleshooting page expands this firing ladder and helps separate a wrong solution from a correct solution that was transferred or evaluated incorrectly.
Fast rule: if the miss is enormous, recheck the source and plot. If the miss is small and consistent, recheck transfer and apply one measured correction.
7. Preserve a compact firing record
A useful firing record fits on one screen. Include mission, target label, source report, Nest position, spotter position, calculated target position, target bearing, target range, shell, charge, elevation, firing result, and correction. Timestamping is optional for private play, but sequence numbers help when several targets are active. The purpose is not paperwork. The purpose is to keep the firing problem inspectable while the game creates pressure.
The site firing planner can calculate map geometry and assemble a private firing card in your browser. It does not send form values to analytics or a server. Use it when a spotter report requires projection, then take shell, charge, and elevation from the current in-game interface. For a guided application, open the Mission 2 spotter guide. For an unexpected result, open the missed shot diagnostic. Each page uses the same firing vocabulary so the record remains consistent from report through correction.